In the last article, I introduced Azure AI Foundry as a way to stand up a private AI service for SOC use cases. The key idea is that the model itself is not the solution. The value comes from how you shape requests using system prompts and structured input. One deployment can support many different scenarios without needing multiple services.
In this article, we start putting that into practice using Logic Apps.
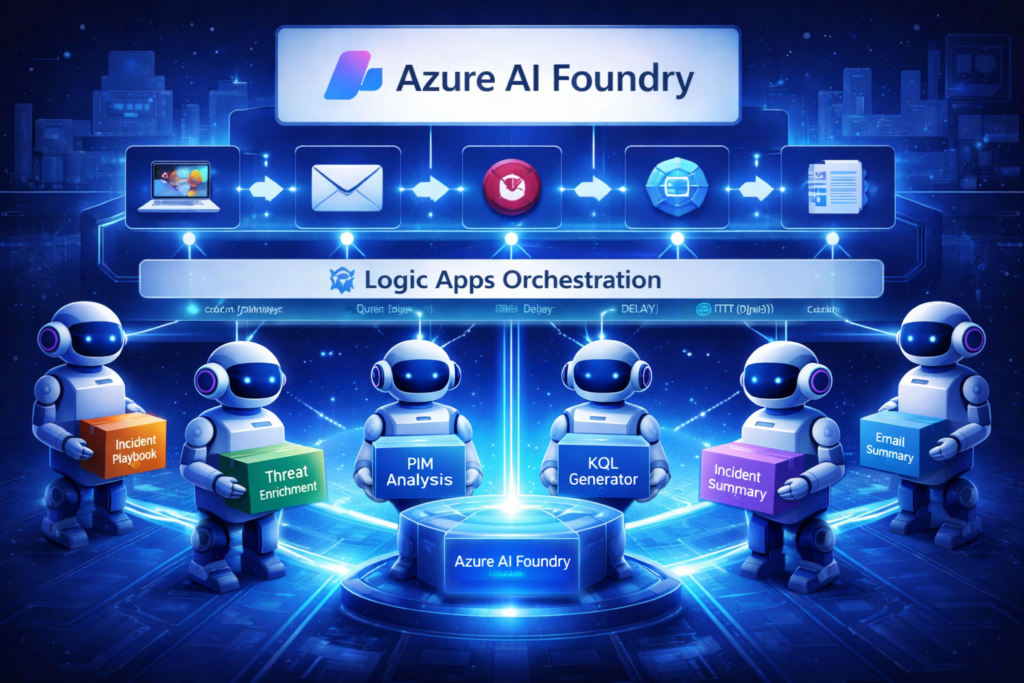
The goal is not to build a chatbot. It is to embed targeted AI capabilities directly into SOC workflows. These workflows generate summaries, enrich workbooks, assist with incident handling, and provide contextual guidance across investigations.
Once this pattern is working, it becomes possible to extend beyond informational use cases. There is a natural progression toward response actions such as disabling users, revoking sessions, blocking IPs, isolating devices, or initiating scans. These actions should not be treated as autonomous decisions. They require careful validation, testing, and guardrails. The focus here is on generating insight and guidance, which can later support controlled response workflows.
Triggers are Wonderful Things
Before getting into the workflow, it helps to clarify how triggers behave in this pattern.
A Logic App trigger can be thought of as either passive or active, based on whether it provides input to the workflow.
A passive trigger simply starts the workflow but does not pass meaningful data. A common example is a scheduled trigger. It acts more like a command that runs on a timer, where the workflow is responsible for gathering everything it needs through queries or API calls.
An active trigger starts the workflow and includes data as part of the request. This could be an incident trigger, an incoming email, or a webhook receiving JSON. In this case, the workflow begins with context already provided and builds from that input.
Another way to think about it is a command that runs without input versus a command that requires input. Both patterns are useful, and most SOC workflows will use a mix depending on whether the workflow is designed to discover data on its own or react to data as it arrives.
Identity and Access Model
Most of these workflows are built using Managed Identity (MI) rather than shared keys.
The Logic App uses its identity to:
- call the Foundry API
- query Log Analytics or Sentinel
- write back to incidents or other services
This avoids storing secrets and aligns well with Zero Trust principles. In government environments such as GCCH, this is often the preferred approach.
There is also a Foundry Chat Completions connector that uses an API key. The connection object keeps the key secured, and additional settings allow you to secure inputs and outputs to prevent sensitive data from being logged. That said, the HTTP action provides more control and supports Managed Identity, which is why it is used throughout these examples.
These workflows could also be adapted to third-party SOAR platforms. The pattern remains the same:
- collect data
- send to LLM
- act on the response
Note: The Logic App Managed Identity must be granted access manually. Assign Microsoft Sentinel Responder on the workspace and Cognitive Services User on the Foundry resource. For testing, you may personally also want Microsoft Sentinel Playbook Operator to trigger workflows manually.
The Core Workflow Pattern
Most of these solutions follow a consistent sequence:
- Trigger
Starts from an event or an input-driven request such as an incident, alert, workbook action, webhook, or scheduler. - Optional delay
After the trigger, we might impose a short delay if needed. This is useful for incident response scenarios where telemetry is not immediately available. Waiting allows alerts, entities, and enrichment data to populate. - Data collection
Additional context is gathered using KQL queries, connectors, or APIs. This may include incident details, related alerts, entity data, or historical trends. - AI request (HTTP action)
Data is sent to the Foundry model using an HTTP call with Managed Identity. The request includes the system prompt and input data, often as raw JSON. - Response handling
The response is returned and used to update a workbook, incident, email, or messaging system.
Working with Connectors and JSON
Connector-based actions typically return structured outputs that are already parsed. It is a common mistake to add an unnecessary JSON Parse step after these actions.
HTTP actions are different and often require explicit parsing. However, when working with an LLM, you can often pass raw JSON directly. The model can interpret the structure as long as the prompt is clear. This reduces the need for complex transformations and keeps workflows small and efficient.
Prompt Design and Grounding
Each workflow relies heavily on the system prompt. In these examples, the prompt typically instructs the model to:
- follow a specific output format
- provide concise, actionable results
- check for additional grounding or instructions if provided
- basic guardrails to keep the model on task
In the samples provided, the model is always instructed to look for grounding, even though no grounding is required or used during initial testing. This keeps the workflows simple to start, while allowing flexibility later. As grounding sources are introduced, such as operating procedures, document repositories, or internal knowledge bases, the system prompt can be refined to direct the model to use those specific sources.
Writing Effective System Prompts
The system prompt defines how the model behaves, what it prioritizes, and how it formats the response.
A practical way to get started is to ask an LLM to help draft the prompt based on your scenario, then refine it. Small changes to the prompt can significantly change the outcome, even when the workflow and data stay the same.
A strong system prompt should:
- define the role of the assistant
- specify the output format
- limit unnecessary or low-value content
- include instructions to use grounding if available
- handle cases where no useful data is found
For example, a prompt used in this project for incident summarization:
“You are an incident summarization assistant. Produce a concise HTML summary for email. Include key findings, severity assessment, and recommended next steps. Avoid trivial details. If no meaningful insights are found, state that clearly. Check for additional grounding if provided.”
Prompt design is iterative. As you review outputs, you refine the prompt to improve consistency and usefulness across workflows.
Example Workflows
All of the following use the same pattern, with differences driven almost entirely by the system prompt.
use-foundry-ai-to-evaluate-pim
Uses Entra audit logs to evaluate PIM activity. Compares recent requests with historical behavior and generates a daily summary highlighting unusual patterns.
send-incident-to-foundry-ai
Sends incident details to Foundry and adds a concise summary directly to the incident comments.
send-foundry-ai-generated-email-summary
Similar to the previous example but designed for messaging. Produces HTML output for email or Teams notifications. For testing, this can write to incident comments, but production requires an email-enabled user or messaging connector.
prioritize-incident-using-foundry-ai
Evaluates incident severity based on current details and historical trends. Recommends whether severity should change and documents the reasoning in the incident.
Get-Recovery-Steps-Foundry-HTTP-MI
Triggered from a workbook via webhook. Sends a question to Foundry and returns structured recovery steps. Uses Managed Identity for authentication.
Get-KQL-From-Foundry-Using-HTTP-MI
Nearly identical to the recovery steps workflow. The only meaningful difference is the system prompt, which instructs the model to return KQL queries instead of guidance. This highlights how flexible the pattern is.
get-incident-tasks-from-foundry-ai
Generates up to ten investigation or response tasks based on incident details. Loops through the results to create tasks and adds supporting context.
entity-research-using-foundry-ai
Retrieves incident entities and enriches them using the model. A short delay is often required to ensure entities are available. This becomes significantly more powerful when combined with web or external grounding.
close-low-risk-fp-using-foundry-ai
This is the first step toward controlled action. The workflow compares current incidents with historical closure patterns and recommends whether to close them. If conditions are met, it can close the incident and document the reasoning. Over time, it begins to reflect how analysts have historically handled similar cases, effectively learning from prior decisions.
Why this works
All of these workflows:
- use the same Foundry model
- use the same HTTP pattern
- differ primarily in system prompts
This keeps the architecture simple and reusable while allowing a wide range of capabilities.
Closing Thoughts
This series started as a simple exercise to explore how Azure AI Foundry could be integrated into SOC workflows. It quickly evolved into a working proof of concept, resulting in a repository that includes 9 Logic Apps and 2 Workbooks built around this pattern.
Interestingly, the hardest part was not building the playbooks. The real effort came from preparing the repository for others to use, testing across scenarios, and documenting everything clearly enough to be repeatable. That process highlighted an important point. Building something that works is one step. Making it usable by others is a much bigger challenge.
All of the examples discussed in this article are included in the repository below and are designed to be simple, focused, and adaptable:
https://github.com/AndrewBlumhardt/Sentinel-Foundry-AI-Workflows
This is meant to be a starting point. Explore the workflows, adapt them to your environment, and extend them to fit your own SOC processes. Feedback, issues, and contributions are welcome.
In the next article, we will move into more advanced patterns using Azure Functions and Visual Studio Code, along with more flexible deployment options, grounding examples, and integration scenarios.